CloudClient Installation Instructions
Before you start:
You can do the install portion immediately, however you need the signup email to do the last part, Enable and Configure the Cloud Sync. You should receive the signup email within 24 hours. During the day it rarely takes more than 2 hours for us to get it done, frequently within a few minutes.
When the subscription option is purchased with a pre-loaded unit:
When a pre-loaded unit has a cloud subscription purchased, we normally get the cloud client fully configured before shipping and no extra steps will be needed to get the cloud going.
Renewals:
Once the order number is entered into the Generator Edit page, it will be reviewed and then extended once the order is confirmed. If your subscription has expired or will expire within 2 days it will be auto-extended to 48 hours and renewals are typically processed in less than 12 hours.
Pre-loaded units purchased after July 1, 2024:
You do not need to do the manual install, just skip to the "Enable and Configure the Cloud Sync" section.
Short version if you are comfortable with SSH:
SSH into the Pi, run the following 2 commands (the second can take a few minutes), then reboot and follow the instructions in the email for configuring and enabling cloud sync.
Do not use sudo
Run the install and update scripts as the normal user, exactly as shown.
To install:
wget https://cloud.pintsize.me/update/pintsizecloudclient.sh -O pscc-install.sh
bash ./pscc-install.sh
To manually update:
wget https://cloud.pintsize.me/update/pintsizecloudclientupdate.sh -O pscc-update.sh
bash ./pscc-update.sh
Go to http://genmon:5000/, log in, go to Cloud › Cloud Sync, and fill it in.
Step by step guide:
If you are comfortable and proficient in using your computer this entire process can be done in as little as 5 minutes depending on internet speed. The install step and waiting for the reboot to complete are where the majority of the time is spent. Going slowly this should take 15 minutes or less in most cases.
Copy/paste is HIGHLY recommended.
Installation:
Duration: with a reasonably fast internet connection and a proficient computer user this can be as little as 3 minutes, going slowly should take 10 minutes or less.
It is strongly recommend to do this setup on a full size computer (desktop or laptop), not a phone or tablet. It may be possible, but will likely require a lot of switching between apps.
Only the first step of getting a Terminal Window or Command Prompt open is different for Mac and Windows, after that it's the same. A cloud subscription is not needed for the installation, only to enable the cloud sync at the end.
Mac:
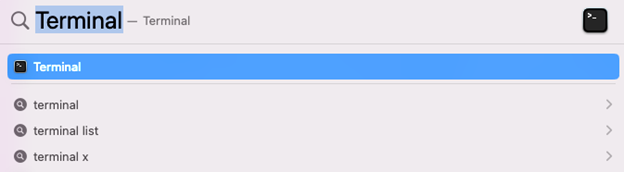
Use the magnifying glass in the toolbar and type Terminal and click the entry.
Windows:
Open the Start Menu, type cmd and click the option for Command Prompt.
Linux:
There are too many flavors here and if you are using Linux you probably don't need help here. If you do, contact us and we will do our best.
Continue (all platforms):
There are only 4 commands you enter included in this document, they are in red text. In the screenshots the lines that start with green show user prompts as this image shows:  . In the screenshots there are also 2 spots where the command "date" was entered, that is just a way of making the timing visible for the document, it shows that the install took about 2 minutes and 20 seconds and you do not need to do those commands.
These screenshots are done on a Mac, it will look almost identical on Windows & Linux except for a black background with white text rather than Mac's white background with black text.
Default system login on a pre-loaded unit
| Username | Password | Pi's computer name |
|---|
genmonpi | raspberry | genmon |
This is the Pi's operating system login. It is used for SSH and for the PintSize Cloud Client configuration pages. It is not the login for GenMon's web interface. If you built your own system or changed your password, use your values instead.
When that window comes up, type the following command:
ssh genmonpi@genmon
For pre-loaded images, genmonpi is the username and genmon is the Pi's computer name. If you built your own system they will be different. The Raspberry Pi installer used to default to pi and raspberry, but their newest installer has you choose during setup.
You may be prompted with a few lines that asks you "Are you sure you want to continue connecting (yes/no/[fingerprint])?" Type yes and hit enter. Typing all 3 characters is required.
At the password prompt enter your password for the Pi, by default on preloaded systems this is raspberry, if you have changed it or built your own system adjust accordingly. Note: many applications will not show anything as you type the password, not even **** as a way of increasing security so that someone can't even see how many characters your password is. This is normal and not a sign of a problem. Just type your password and hit [Enter].

After logging in you now are connected to the Pi and entering commands into its operating system. Copy and paste the following command and then press enter if it didn't do so automatically to download the install script. Copy as normal, and then to paste on Windows right click in the Command Prompt and it should appear, on Mac 2 finger click and you should get a small menu and click Paste. The entire text below is 1 command even if it is wrapping to a second line in your view.
If installing:
wget https://cloud.pintsize.me/update/pintsizecloudclient.sh -O pscc-install.sh
If manually updating:
wget https://cloud.pintsize.me/update/pintsizecloudclientupdate.sh -O pscc-update.sh
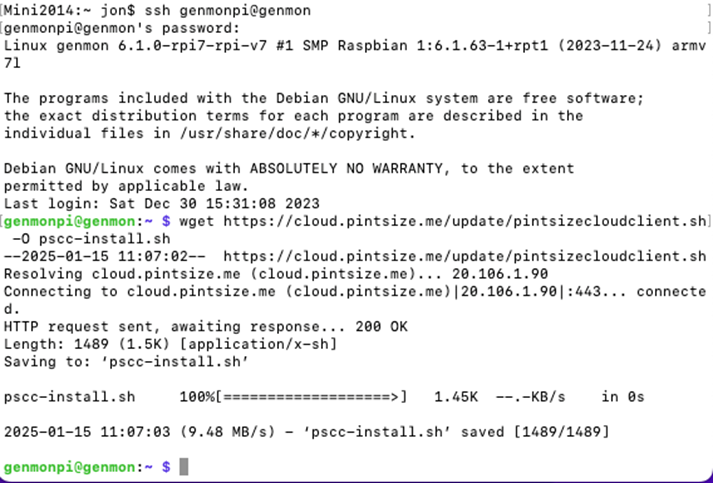
Then you will enter the second command which executes the install script downloaded in the first one. Use the same copy/paste instructions, or since this is short you could just type it as well. This command does take some time to execute. Do not use sudo here.
If installing:
bash ./pscc-install.sh
If manually updating:
bash ./pscc-update.sh
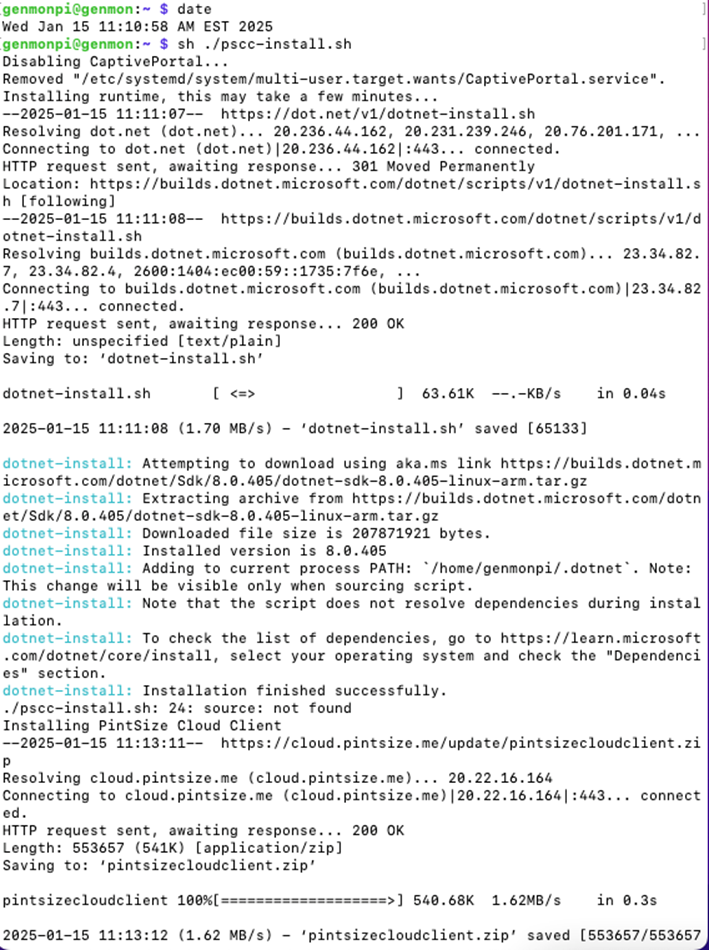
It may show multiple messages starting with "Attempting to download…", that is normal as long as it keeps going. The downloading step duration will depend on how fast your internet connection is. This is followed by Extracting which takes some time and varies based on what Pi and what storage you have. On a Raspberry Pi 3B+ with a high quality micro-SD card this whole command took 2 minutes to execute, though it did have a fast internet connection. It should not take more than 15 minutes.
At the end it will state "Install Complete. Please Reboot.". You can do so by entering the following command and pressing Enter.
sudo reboot
After this the system will disconnect and you should be done with the Terminal or Command Prompt and wait a few minutes for your system to fully reboot before continuing.
Next: continue to Enable and Configure the Cloud Sync.
This is only needed on new installations. If you have already enabled the cloud sync and are just updating the client, you can skip this step.
Duration: a proficient computer user may complete this in under 1 minute. Going slowly should take 5 minutes or less. This requires that you have received the "PintSize Cloud – Welcome" email from your details.
The following steps are done in a browser. There are 2 things to copy/paste so this is more reasonable to do on a tablet or phone, though a desktop or laptop may still be easier so you can have the email, these instructions, and the web page all visible at once.
There is no requirement that the next steps be done in a certain time frame, you can do it as soon as the Pi finishes booting up, or wait until another convenient time. You do need a valid cloud subscription to complete the following steps.
Go to http://genmon:5000 or http://genmon.local:5000.
The login page also shows the Software Update box. If the Available Version is newer than the Current Version, click Update first. If it shows "<unknown>" for the available version, wait 10 seconds and refresh. After updating, give it a minute to restart the configuration pages, then refresh and the Current Version should be updated.
Once you are on the current version, log in with the system login, the same username and password you used for SSH (default genmonpi / raspberry).
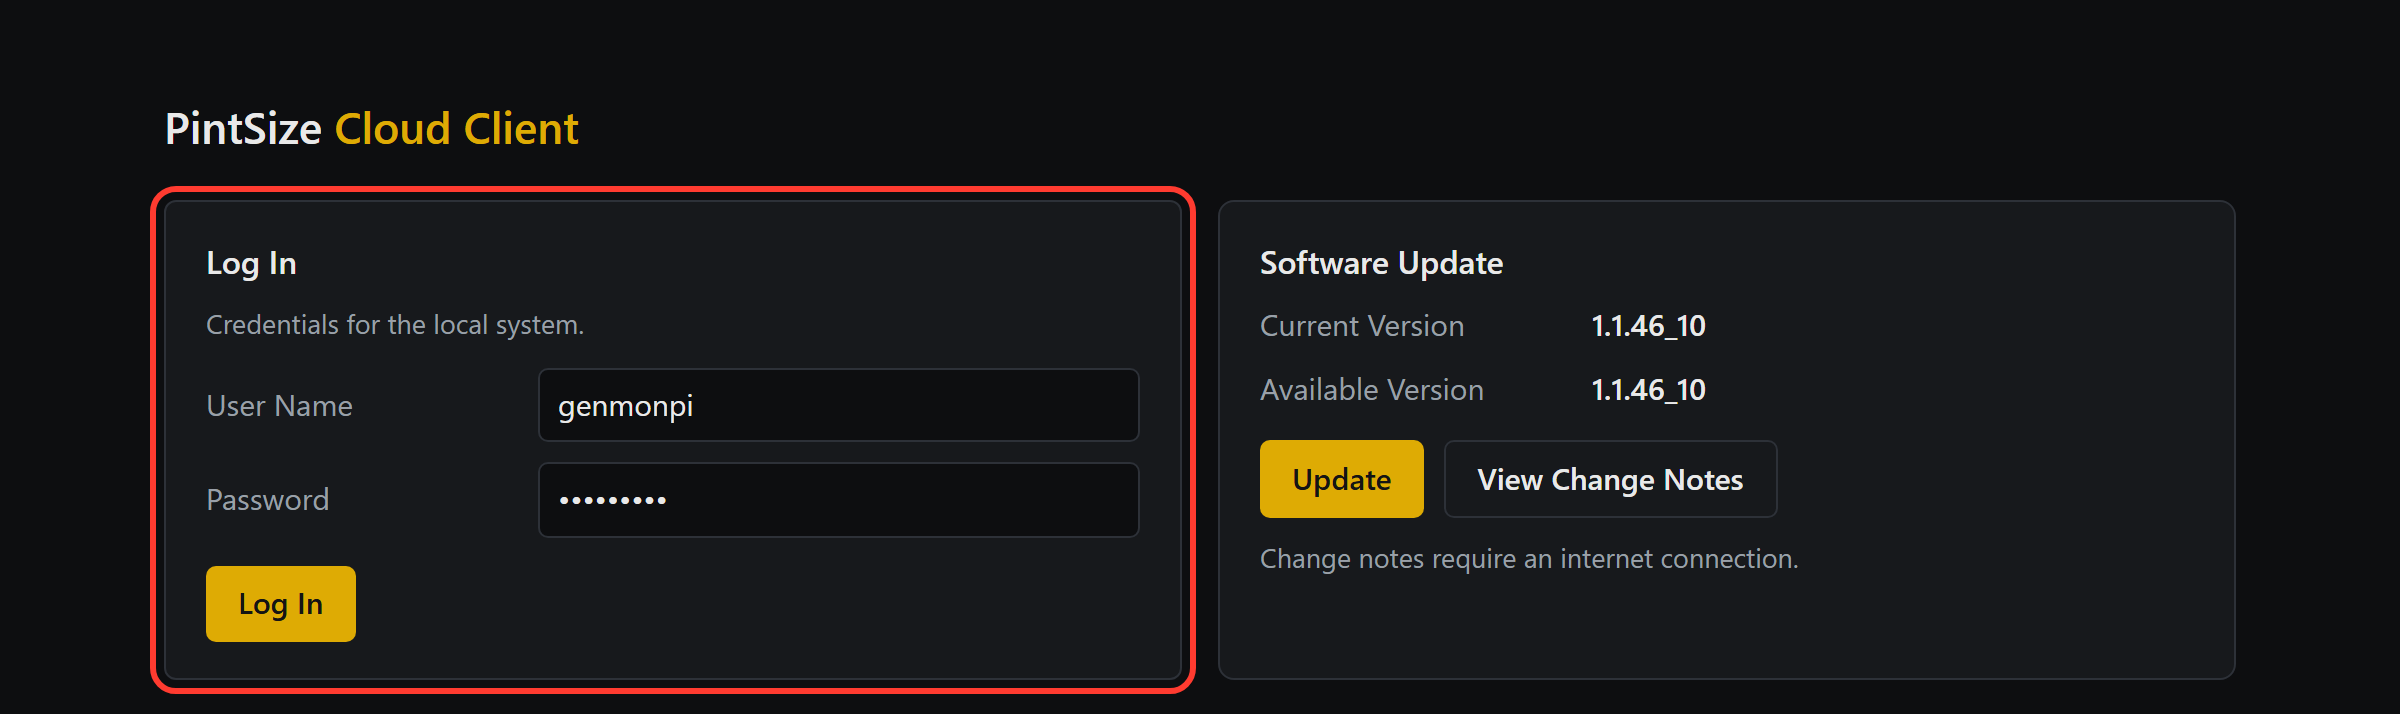
The configuration pages have a menu on the left, grouped into System, GenMon, and Cloud. On a phone, the menu is behind the ☰ button at the top left.
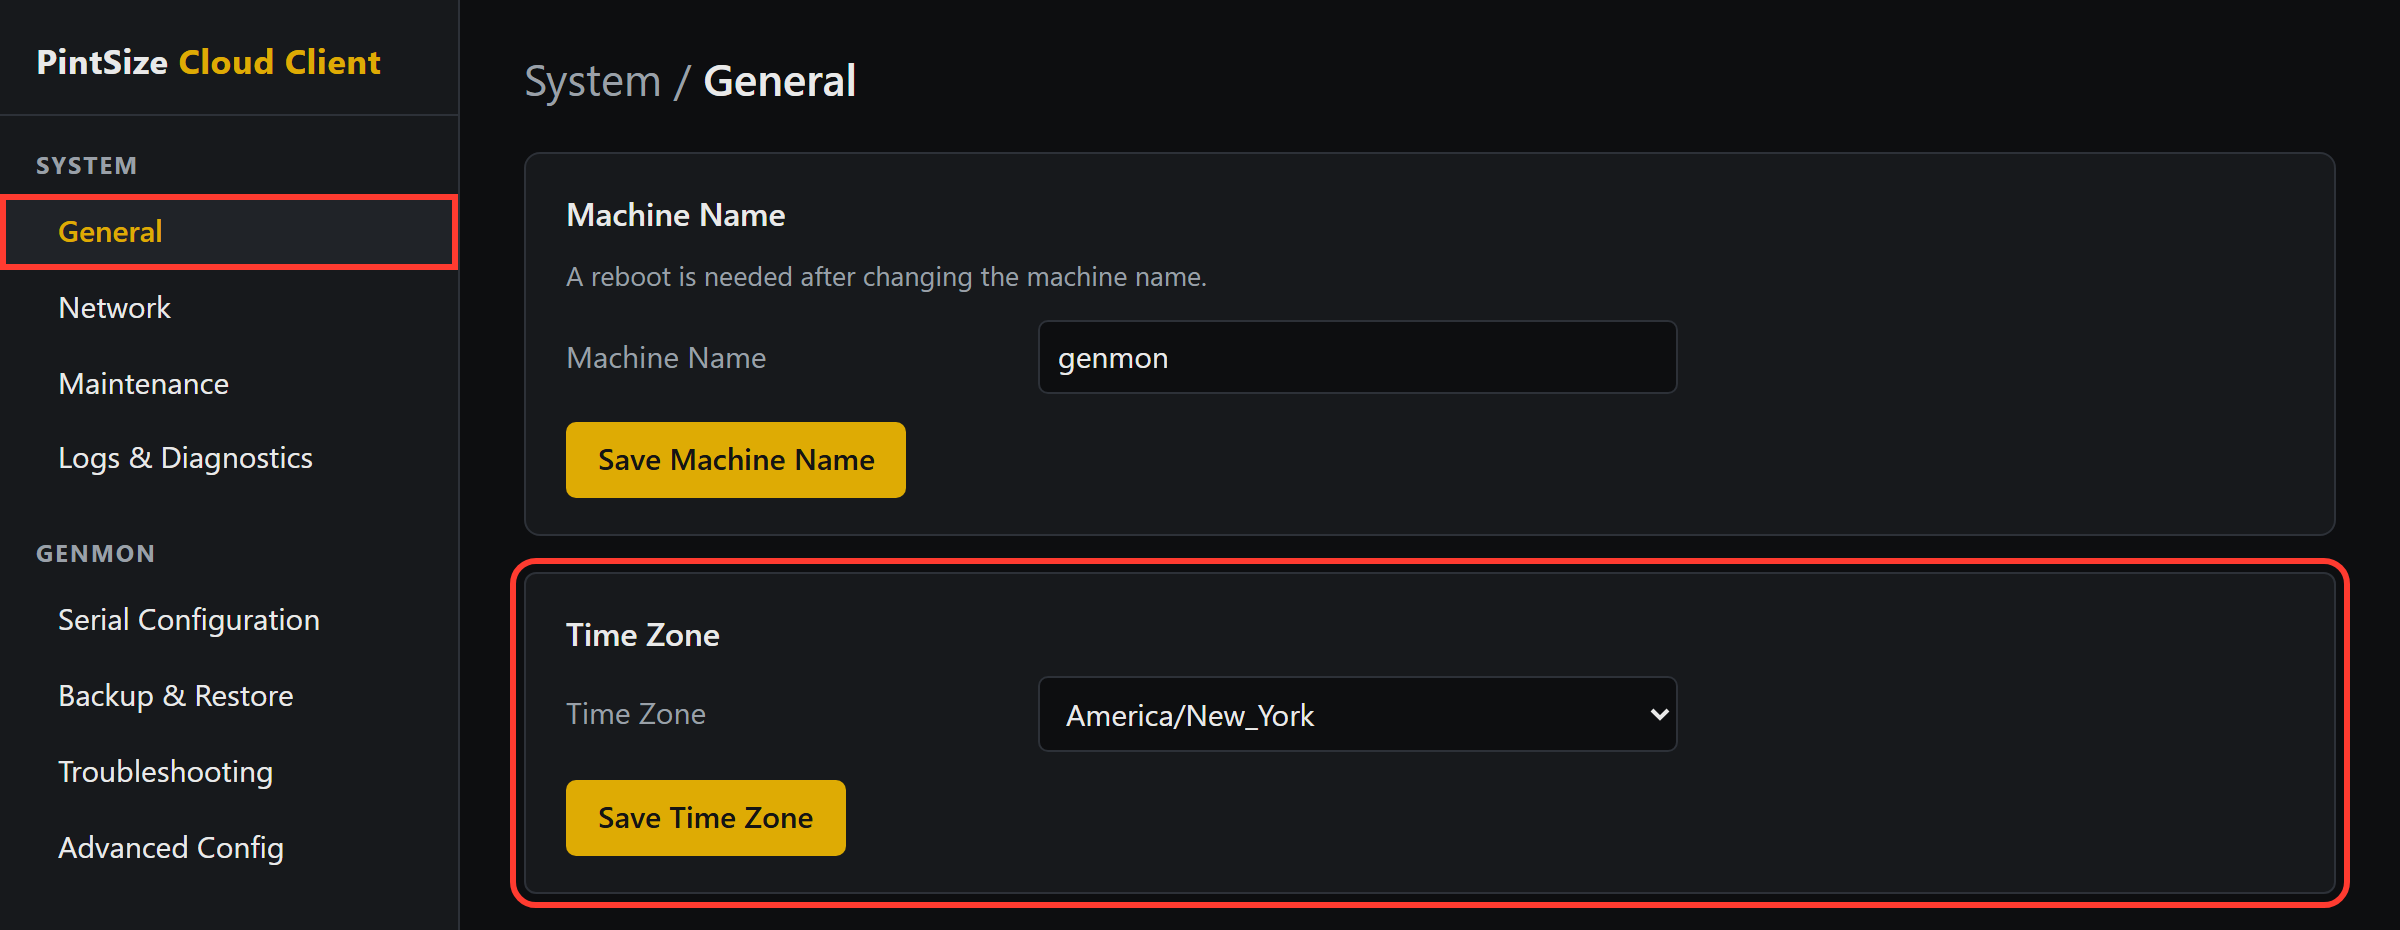
Optional: if you want to update the time zone on your device, go to System › General, select it, and click Save Time Zone.
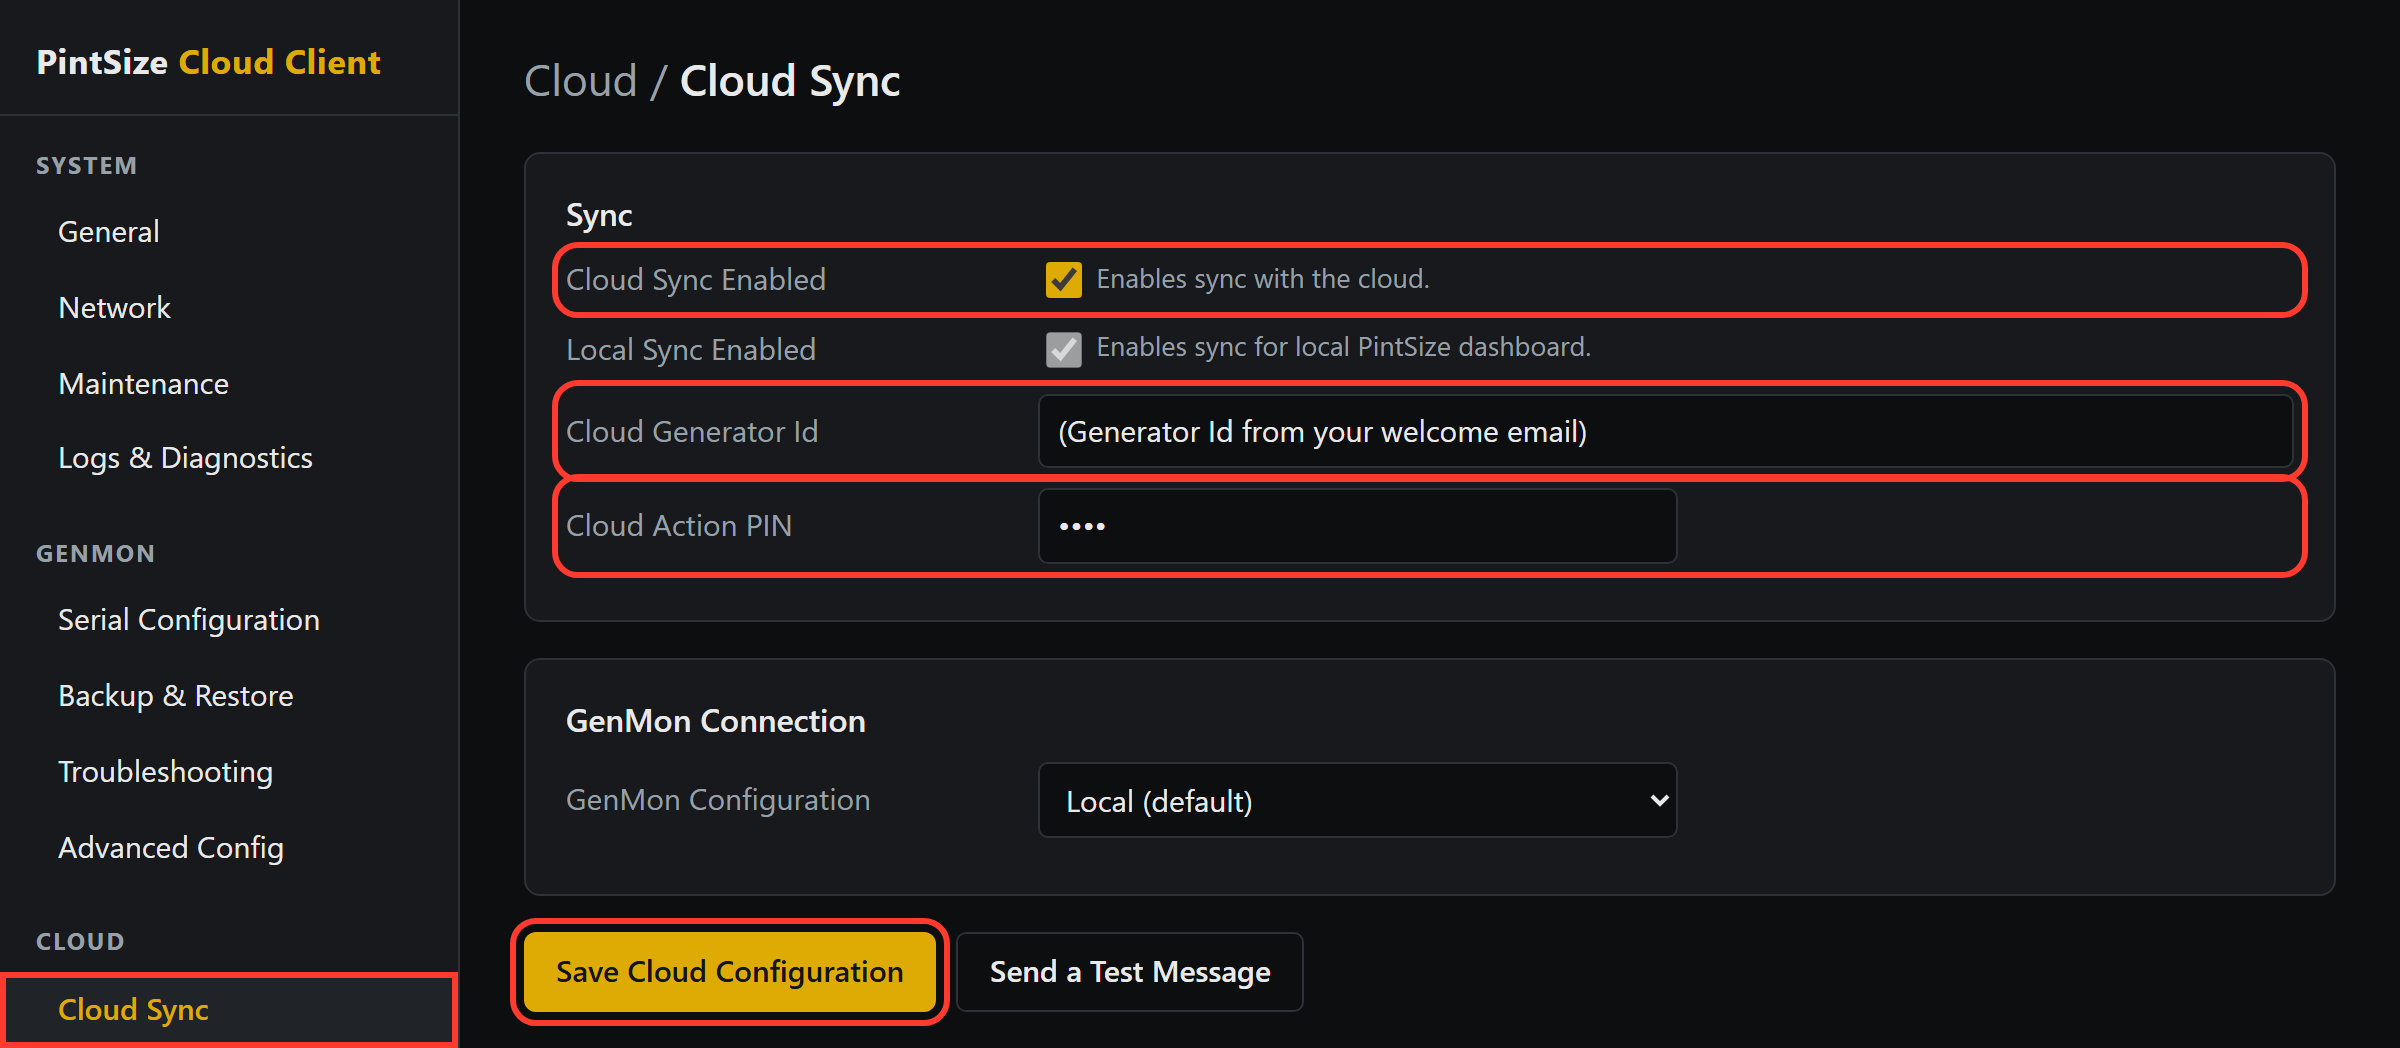
Go to Cloud › Cloud Sync and enter the values from the email:
- Check Cloud Sync Enabled.
- Paste the Cloud Generator Id from the email.
- If you want to be able to issue commands from the cloud (Start, Stop, Clear Error), enter a Cloud Action PIN. This PIN is stored locally on your Pi and the cloud only knows that actions are supported. When you want to execute an action you supply your PIN to the cloud and your Pi validates it.
- Most installs have GenMon and the PintSize Cloud Client running on the same system. In that case keep GenMon Configuration set to Local (default).
Then click Save Cloud Configuration.
Hopefully you see a success message. Within a minute the Last Sync Result at the bottom of the page will show the latest sync; it refreshes on its own. If it ends with "Update Sent." or "Send Update = FALSE" you should be all set and be able to view your generator's current status online right away. "Send Update = FALSE" just means nothing changed that needed sending on that pass. The client only updates the cloud once per minute unless it detects an important system change, and those events typically show within 20 seconds.
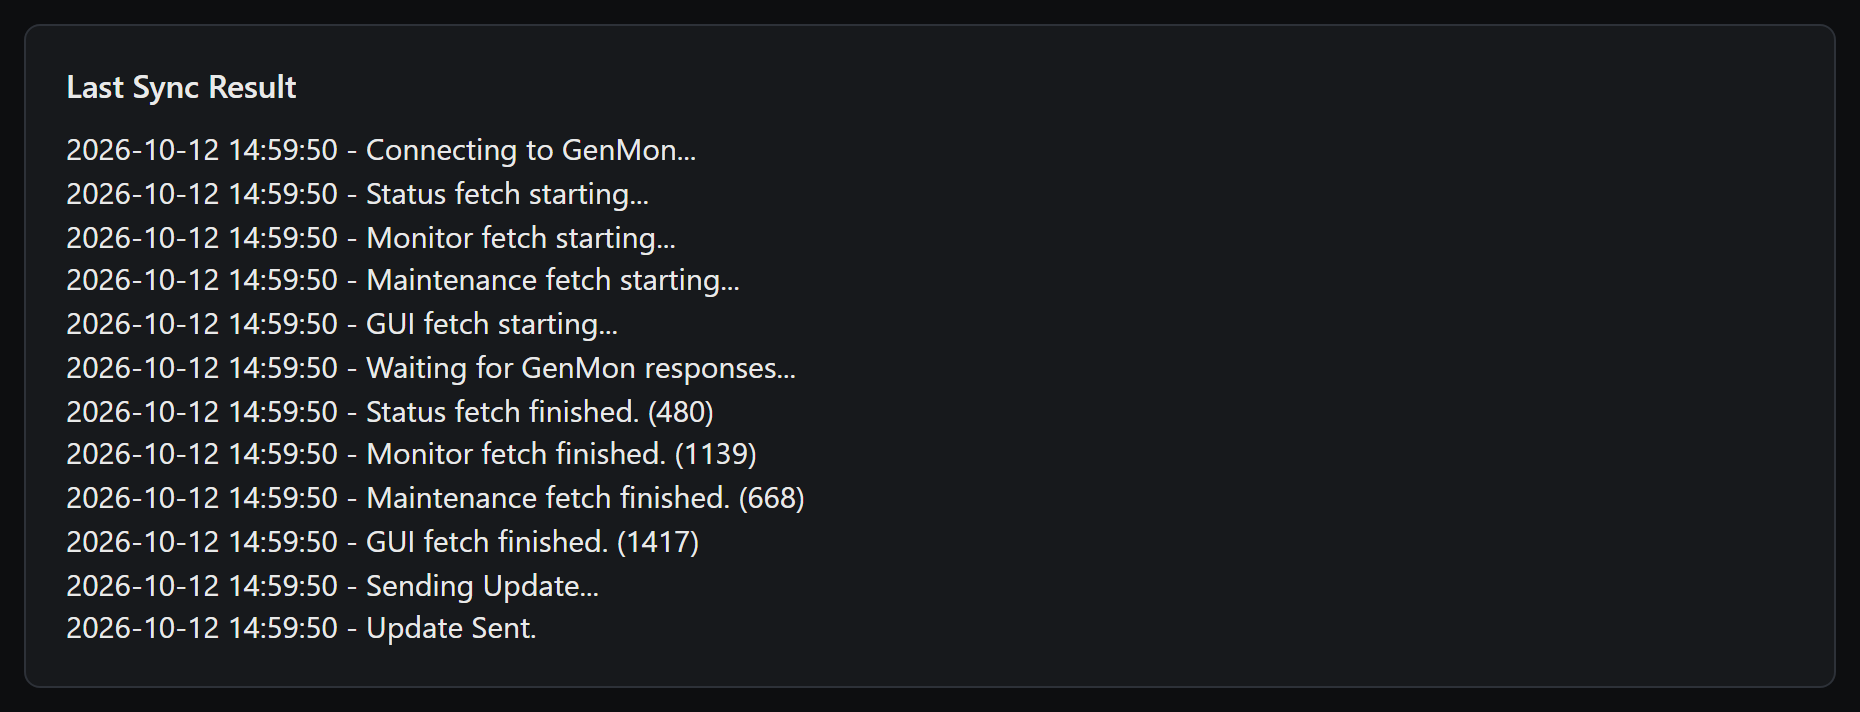
If something goes wrong, the entry is shown in red and can be clicked to expand the details. Those details are helpful to include if you contact us.
Once you have completed this, you typically do not need to revisit these pages unless sync stops working.